
Due to time limitations of the project, we opted for a development that only works locally,
because hosting the page for
its operation in the cloud would have exponentially complicated the implementation of the
project. This is why it only works within the "localhost" server, but when importing the
project, its functionality is correct.
Human ID
The frontend works from Django, thanks to the MVC nature of the framework. It contains coding in HTML, CSS, and JS; all the backend functions within Python.
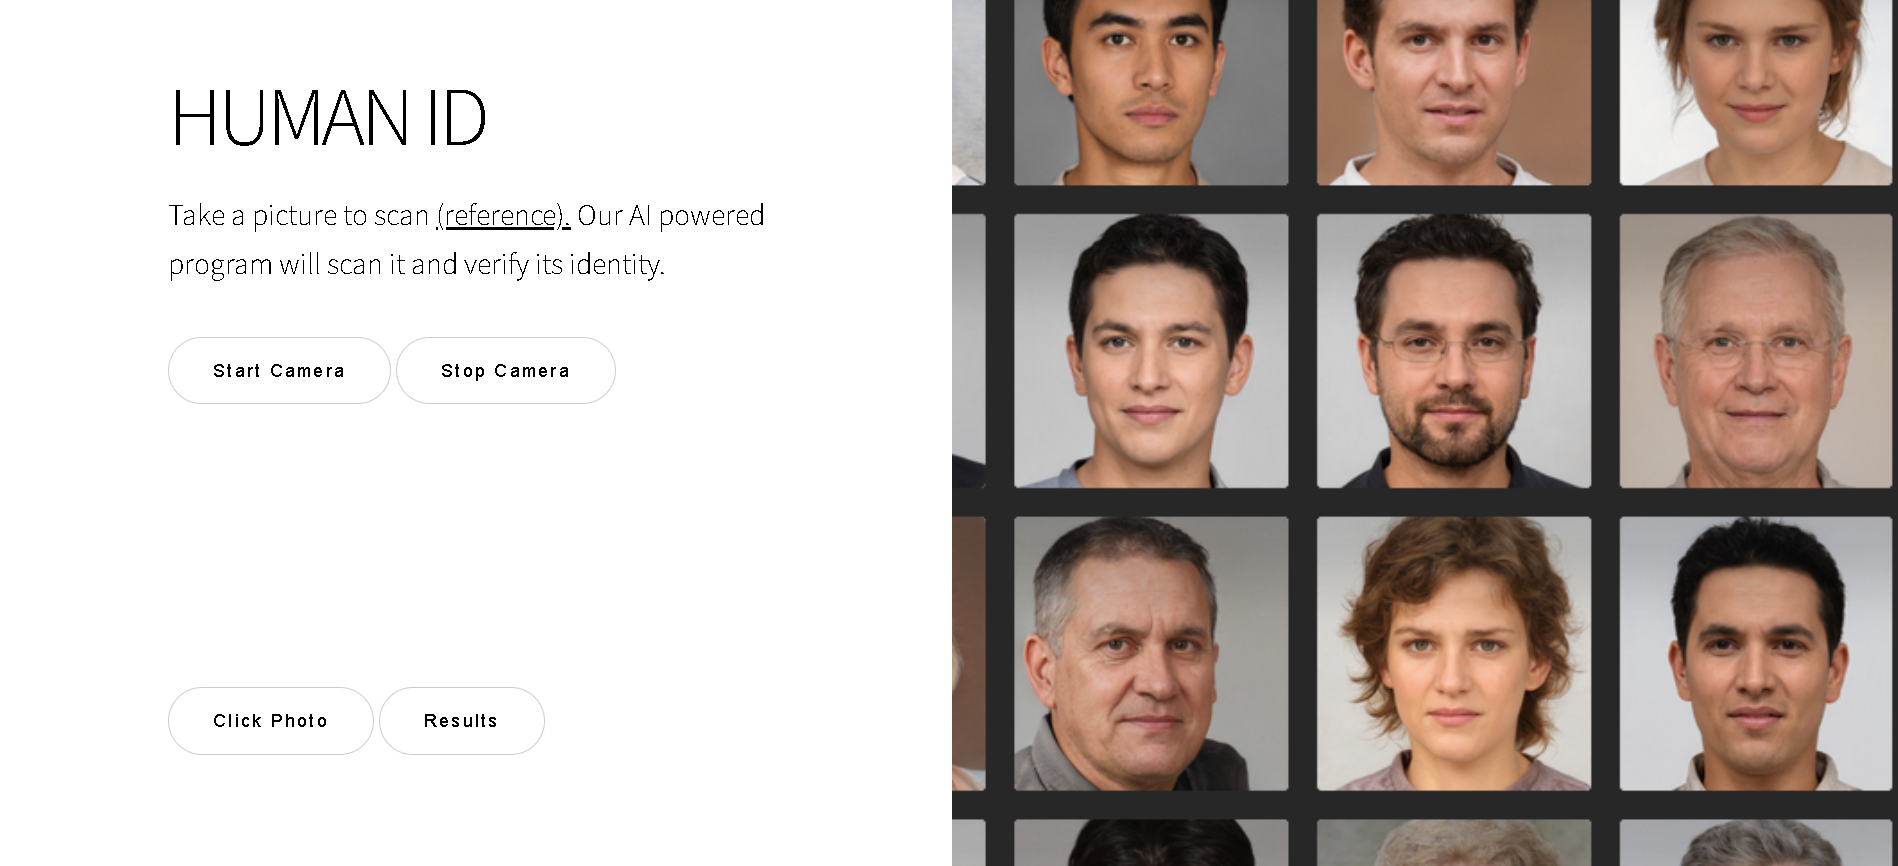
Page Start
This is the API home page, where you can see the buttons for activating the camera, turning it off, and taking a photo.

Start Camera
The process starts from the webpage, where the user can click on "start camera" to take a photo from the device's webcam, making the process very intuitive. The camera can also be turned off for user convenience.

Click Photo
The button "click photo" will use the camera already started to snap a picture. After that, using the button "Results", the user can see the results of the API in a new page.
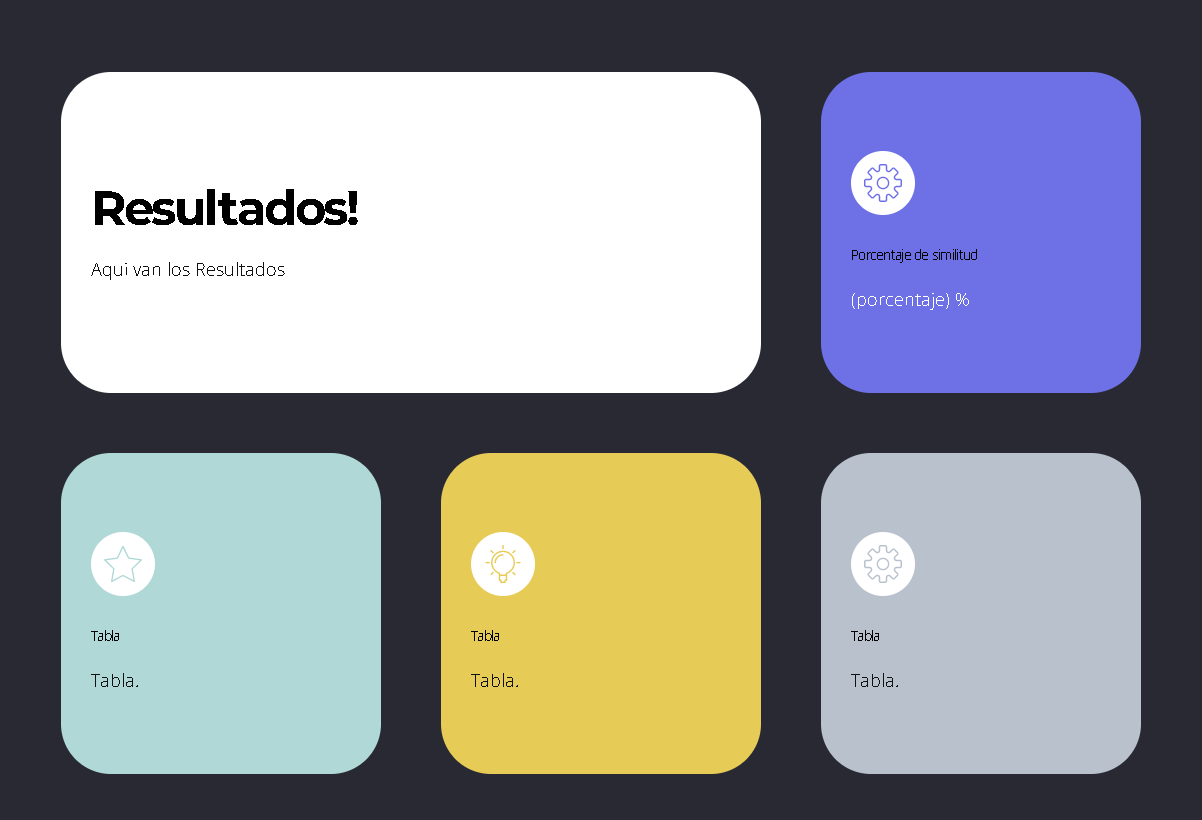
Click Photo
The Results page will show the comparison between the photo taken and the database of faces, showing the percentage of similarity between the two. If it is above 90%, a true statement will be thrown. Otherwise, it will be false.
Perfect!
Now its time for you to try it, you can download the API from our github repo: FacialRecognition
After you download it, you can check the readme file for the requirements.